Getting Started
If you're starting from the very beginning, this guide is for you.
Requirements
- You will need an account with VRChat
- Your VRChat account must be of Trust Rank "New User" or higher
Step 1 - Install the Creator Companion
The Creator Companion is the tool you will use to create and manage your Avatar projects. It will also help you install to Unity and any packages an Avatar may require.
Download the Creator Companion and complete the installation.
Step 2 - Install Unity
Upon opening the Creator Companion, there will be a prompt to direct you to install Unity - follow the directions to complete the Unity installation. If you have not already installed Unity, click the "Install Unity" button proceed.
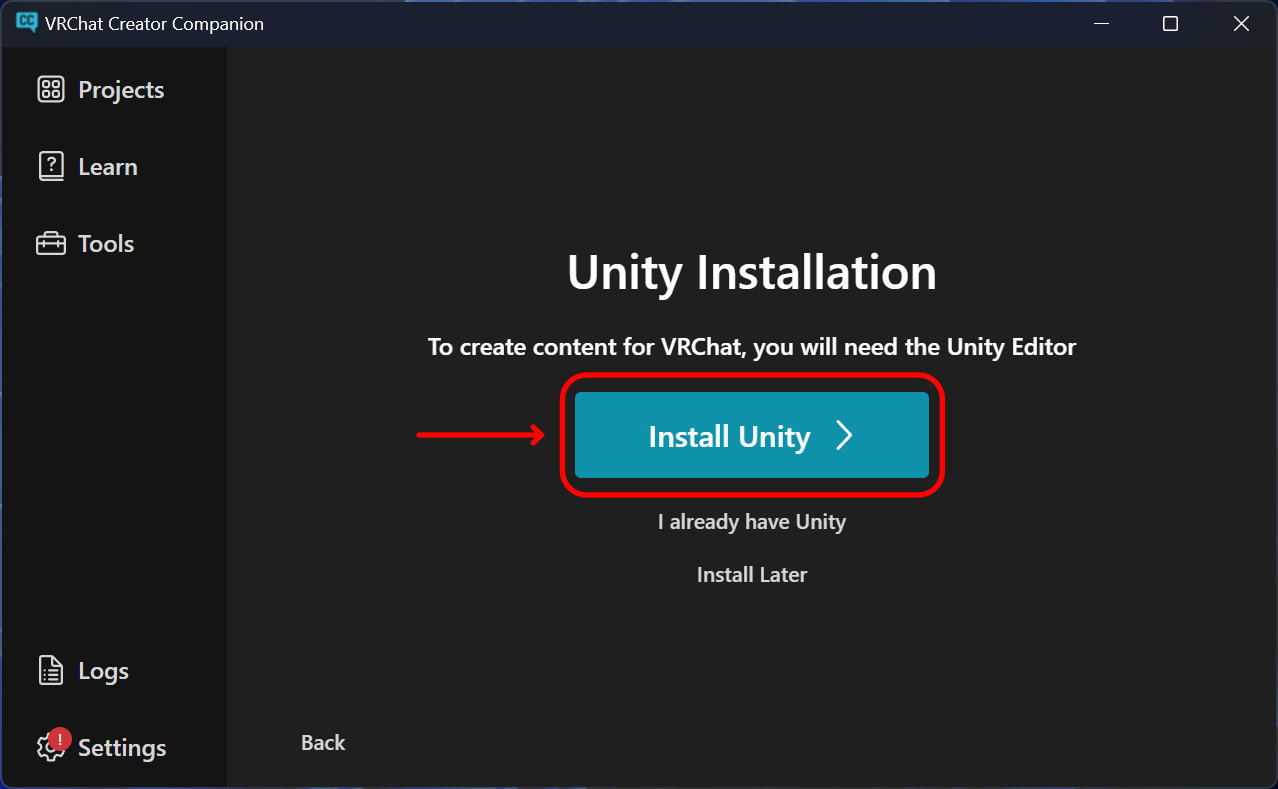
Step 2.1 - Install Unity Hub
On the next page you will be directed to install the Unity Hub and activate your Unity license - complete the list to continue. You can download the Unity Hub from Unity's website.
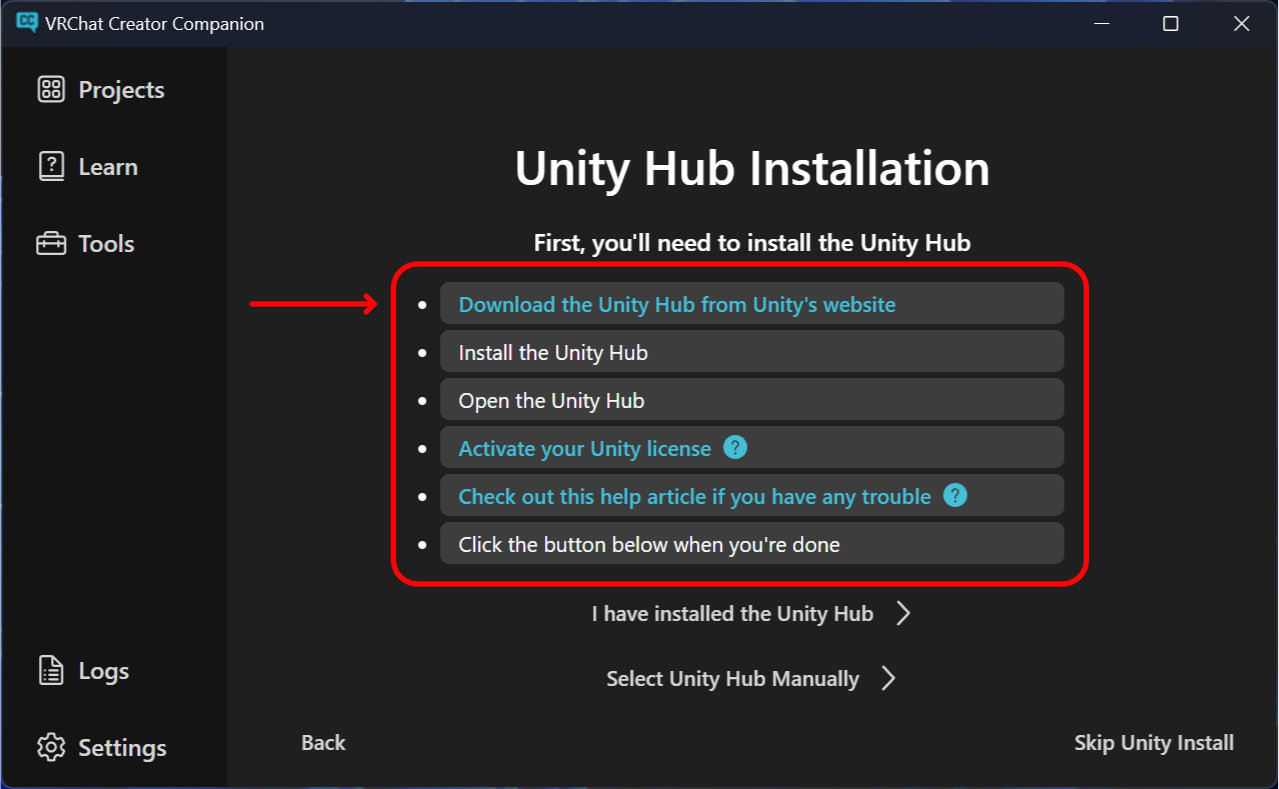
Step 2.2 - Activate your Unity license
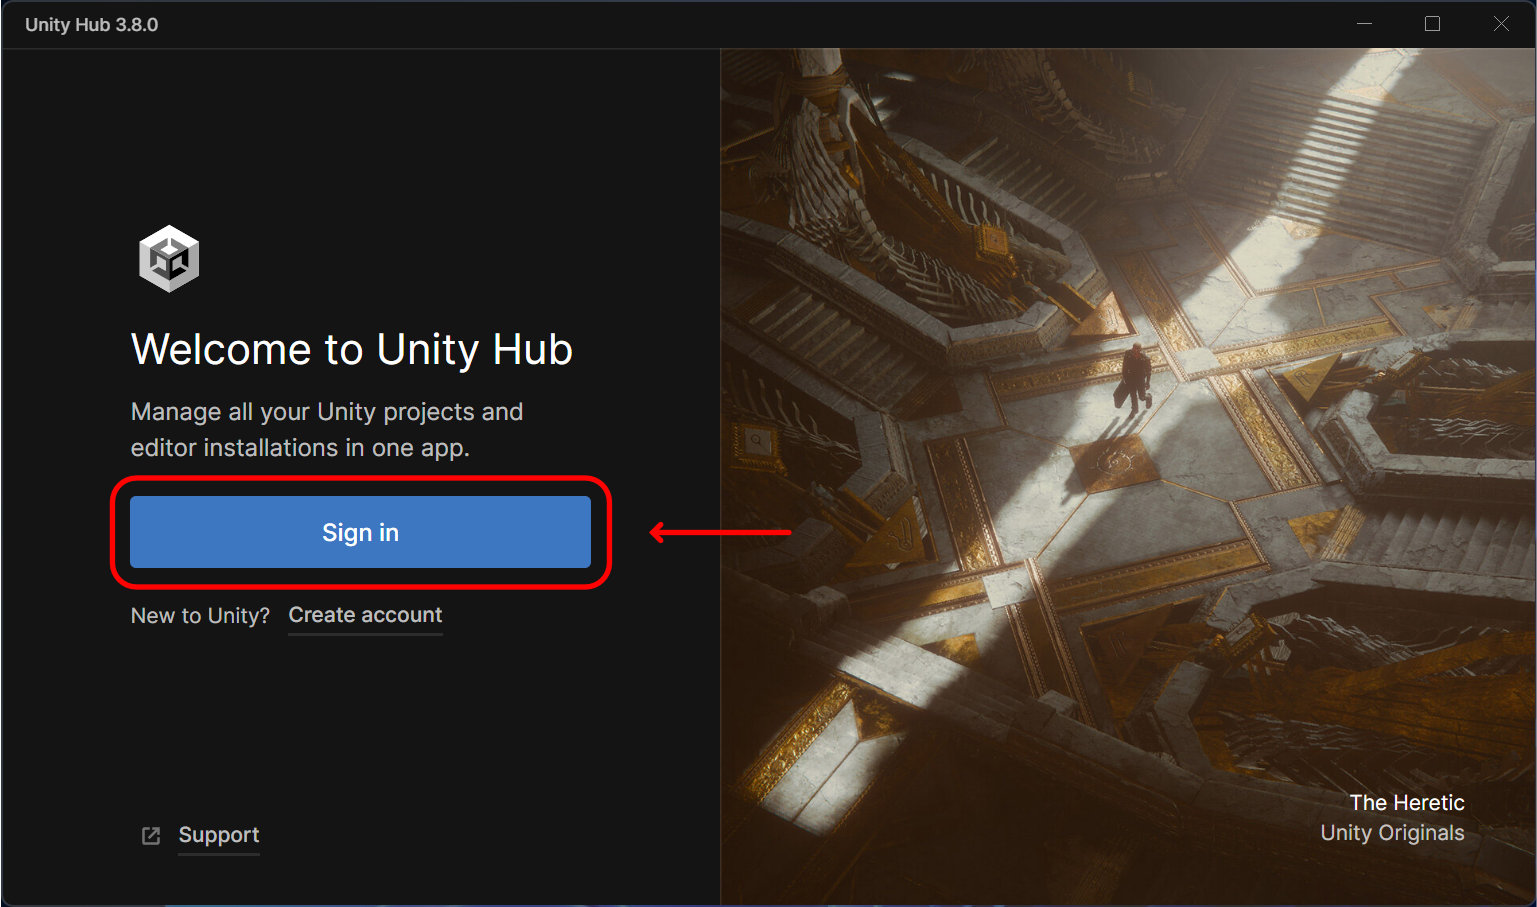
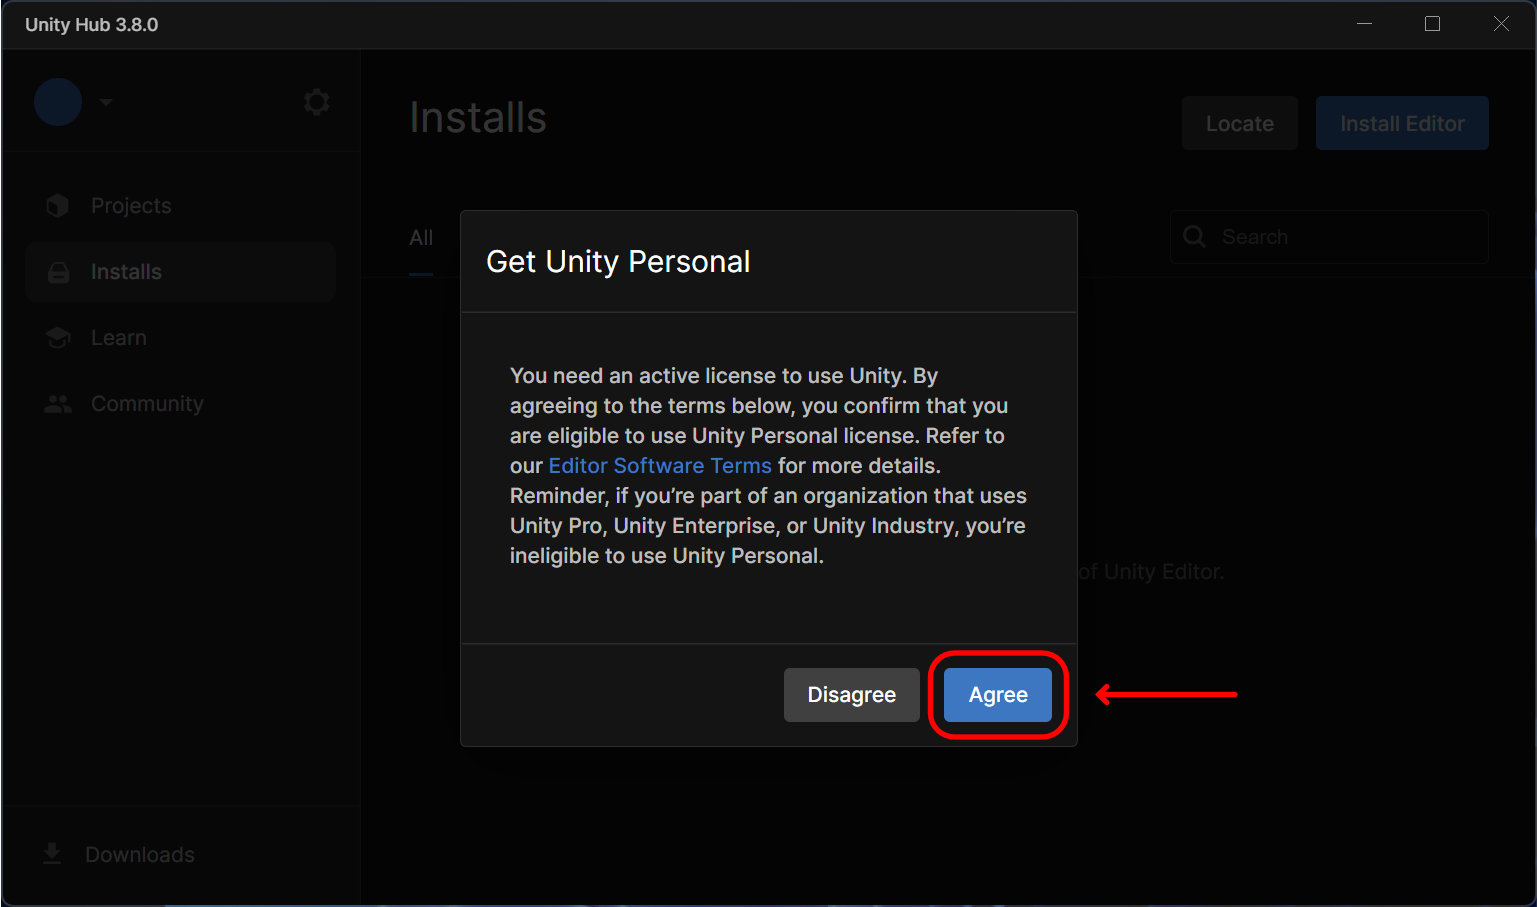
After installing Unity Hub and opening the application, you must sign in with a Unity account. Afterwards, you will be presented with a popup to "Get Unity Personal". Clicking "Agree" will activate the personal Unity license you need.
Step 2.3 - Installing the Unity Editor
You may return to the VRChat Creator Companion and proceed from the Unity Hub installation by selecting "I have installed Unity Hub". On the next screen, you will be directed to install the version of Unity used by VRChat. As of writing, the correct version is Unity 2022.3.22f1. Click the Install button to continue.
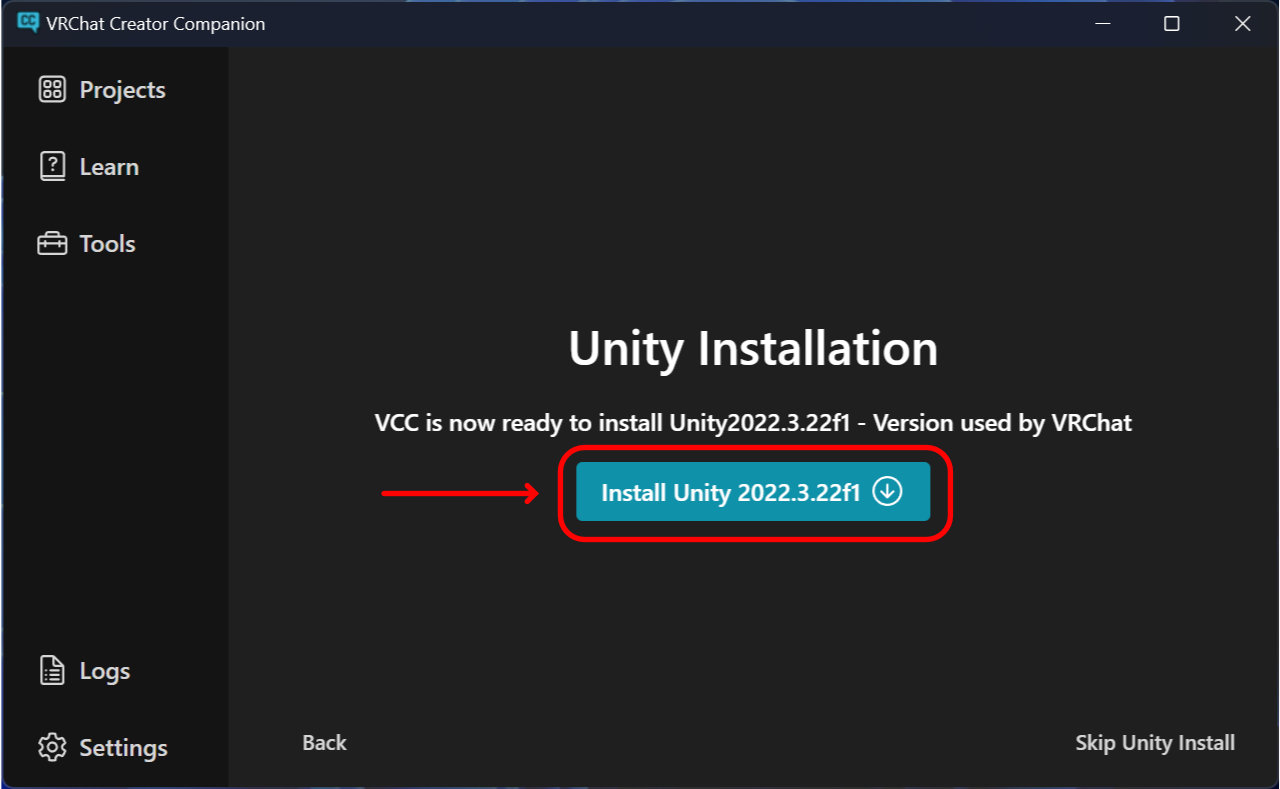
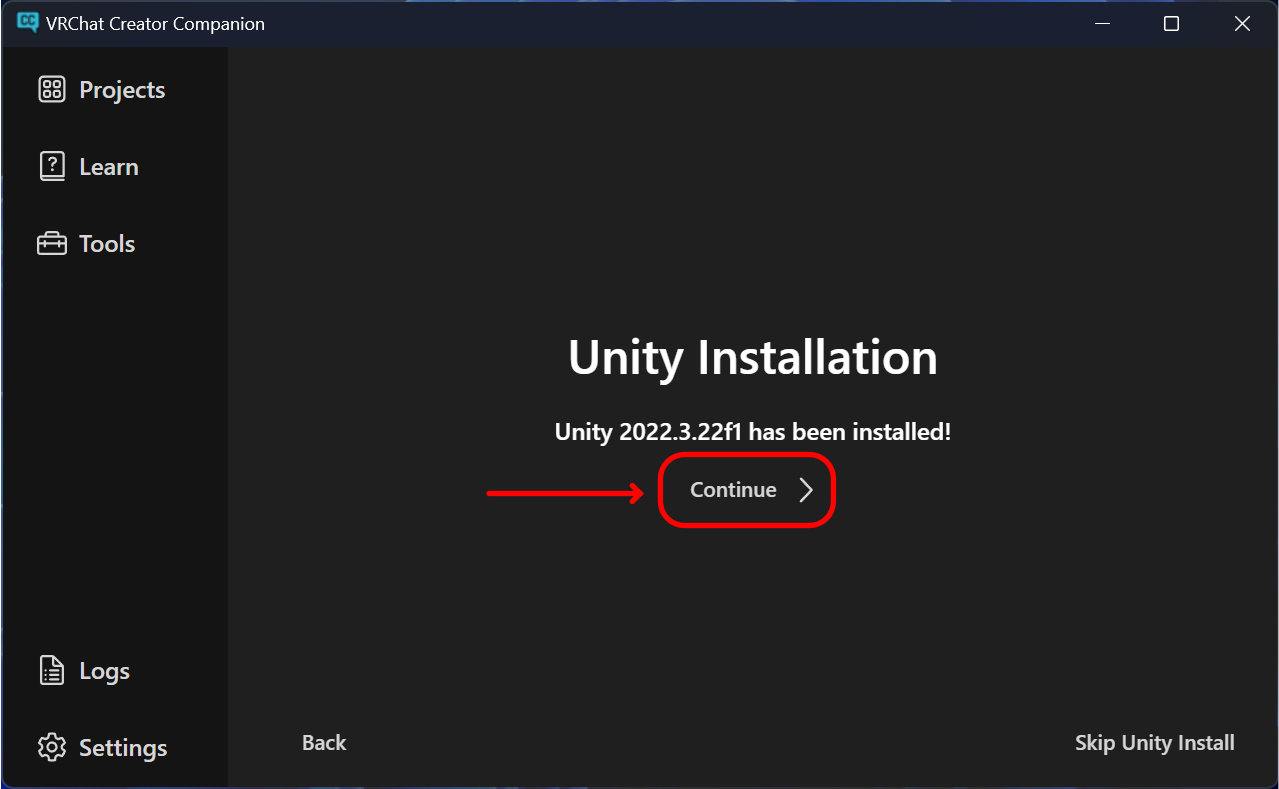
If the Creator Companion fails to install Unity, you can use the Unity Hub to install it instead. You will need to find the appropriate version as above from the Unity Download Archive and click Install, which should trigger Unity Hub to open a dialogue to continue with the installation of that version. If you plan to upload a Quest version of an Avatar, be sure to tick the "Android Build Support" box under "Platforms" on the initial "Add modules" page.
That's it! You're all set up to begin creating Avatar projects to upload to VRChat. To continue with the guide on uploading an avatar, click the next button below to continue below.
Problems?
Don't hesitate to ask for help in the Everglade Discord Server